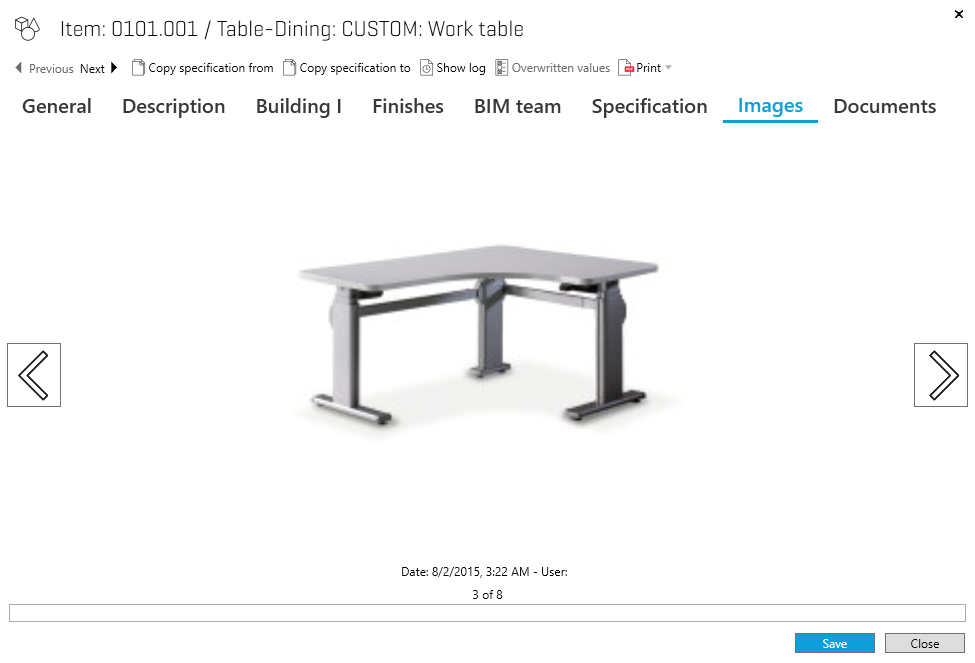
Pictures can be moved to different parts of the program. This applies to ItemItems, existing equipmentItems, rooms and in the function program. Pictures can be used to explain the appearance of Item, provide sketches or drawings of rooms or photographs of equipment Items to be transferred.

The table below explains what the buttons on the right-hand side mean. The same options are also available by right-clicking in the Pictures/Documents tab.If you want to see the images attached to an item or room, just open the item/room and select the "Images" tab.
Icon | Definition |
| Go to next picture. This will only be available if more than one picture is registered. |
| Go to previous picture. |
| Delete current picture. |
| Add pictures. You can choose to add pictures with the following formats: GIF, JPG, TIF, PNG and BMP. You can add several pictures at one time. If the pictures are very large, or in another format than GIF or JPG, they will be converted before being downloaded to the database. See also tips below. |
| Copy to the clipboard. The picture selected is copied to the clipboard so that you can copy it into other programs such as Word or image processing programs (instead of using Edit-> Paste or Ctrl-V). |
| Allows you to save the picture which is displayed as a separate file. |
| Displays the picture in a new window for full size display. This also occurs if you double-click the picture.
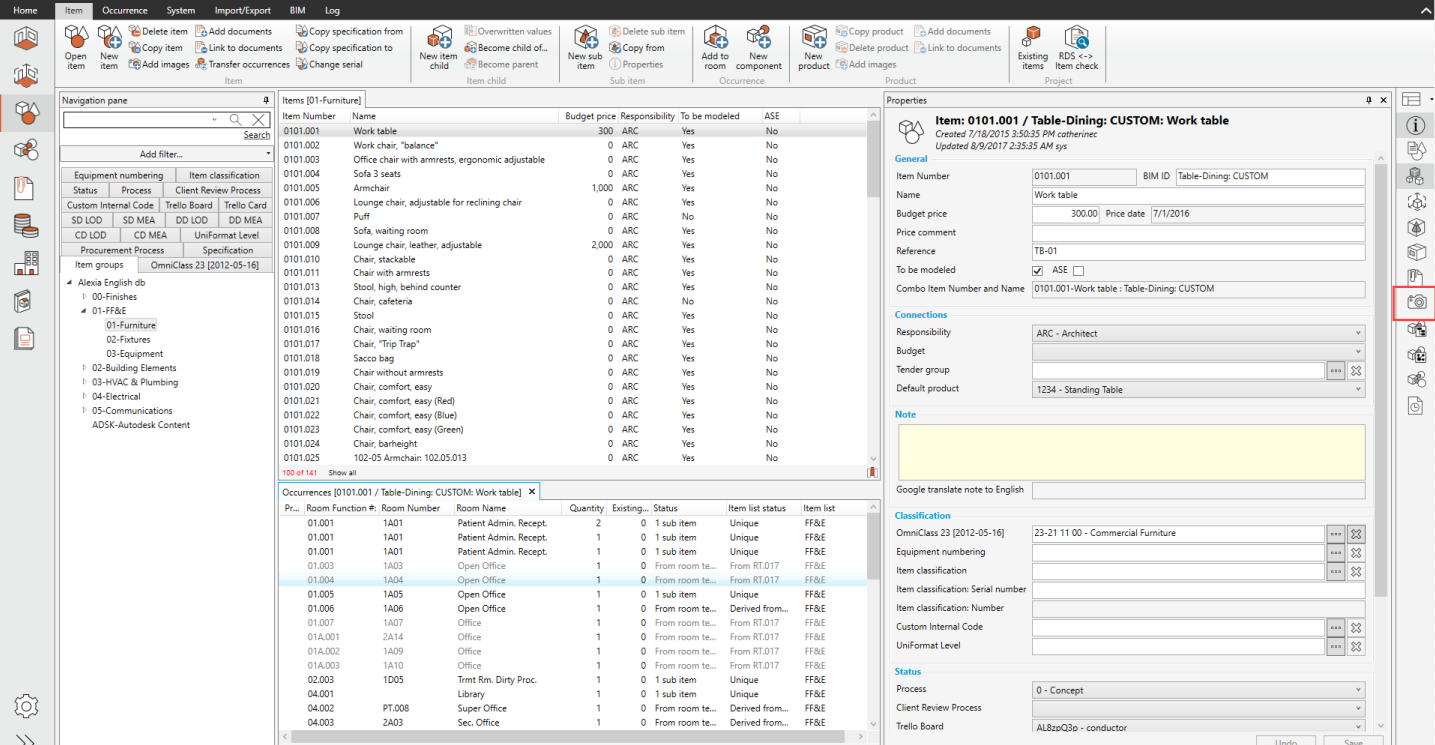
If you want to manage the images, in the item/room window, select the image icone on the right ribbon:
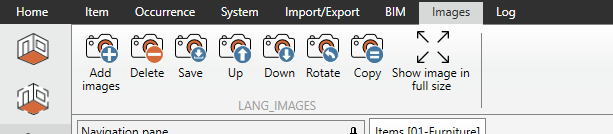
A "Image" menu will appear with different options on the top ribbon:
| Info | ||
|---|---|---|
| ||
| Pictures can also be added by using the drag and drop technique. To make work quicker, you can use a file manager and click on the pictures you want to create links for, hold down the mouse button, then drag and drop over the picture tab. |
...