There are several ways in which to create a room list in dRofus. You can manually create a function structure and room in the room module, you can import from Excel or Revit, or you can create rooms from an IFC model. The program's IFC functionality is described in detail in a separate users' guide available here. The process to import a room list from Excel is described in Import and Update Data.
Create room function structure
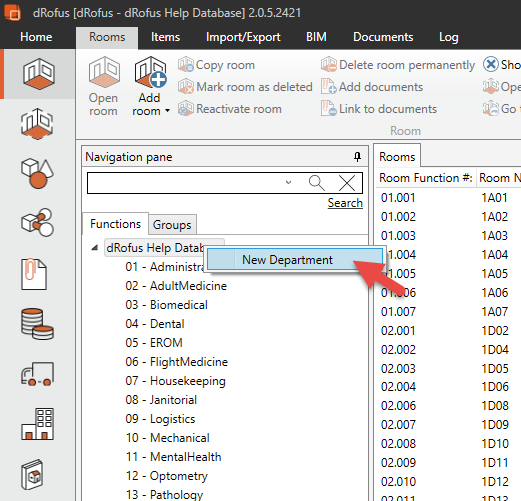
Before you can create a room, you have to create a level (function) under which the room can be created. To create a level in the function structure, you can either right-click on the project name in the room overview and select New department (ref. the figure below), or navigate to Room → Functions → New in the ribbon menu. This selection may have different names depending on the project. You can also carry out this operation to create sub-levels. You will need the necessary rights to perform this operation. The depth (how many levels on top of each other) of the structure and the names of the different levels (function, department, section etc.) are set by the project administrator.
Create rooms
Add rooms
Rooms can only be created in levels which do not have sub-levels - i.e. you have to be at the lowest level to create a room.
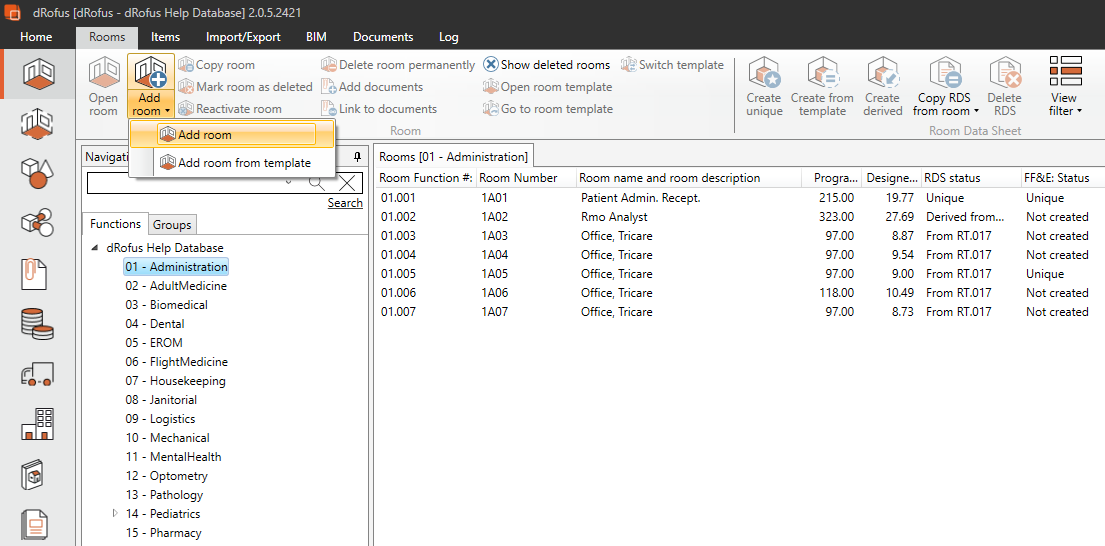
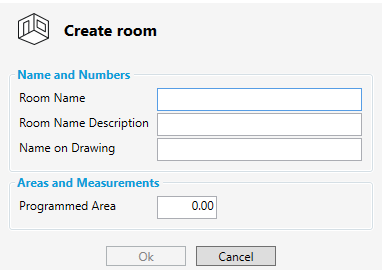
When you add a room (Add room from the toolbar), you will see a Panel where you enter core information such as Name (mandatory), Room Name Description, Name on Drawing and Programmed area. You edit these values and fill in more information on the room later in the Properties. All other functions available for a room can be found by right-clicking on the room. If you mark a room as deleted, the rooms' designed area will be set to zero and all linked information (Room Data, Items, finishes) will be deleted.
Add room from template
From the Add room drop down list you can select Add room from template. When using this option you will be asked to pick a room template to be used. Your new room will inherit room name and programmed area from the room template you have picked. The new room will also receive Room Data, equipment and finishes status from the room template. Meaning the room will get all values from the room template upon creation.
Mark room as deleted
If a room is no longer part of the project it can be Marked as deleted. This option is available in the ribbon menu or in the right click context menu.

Mark room as deleted is available for all users with write access to rooms.
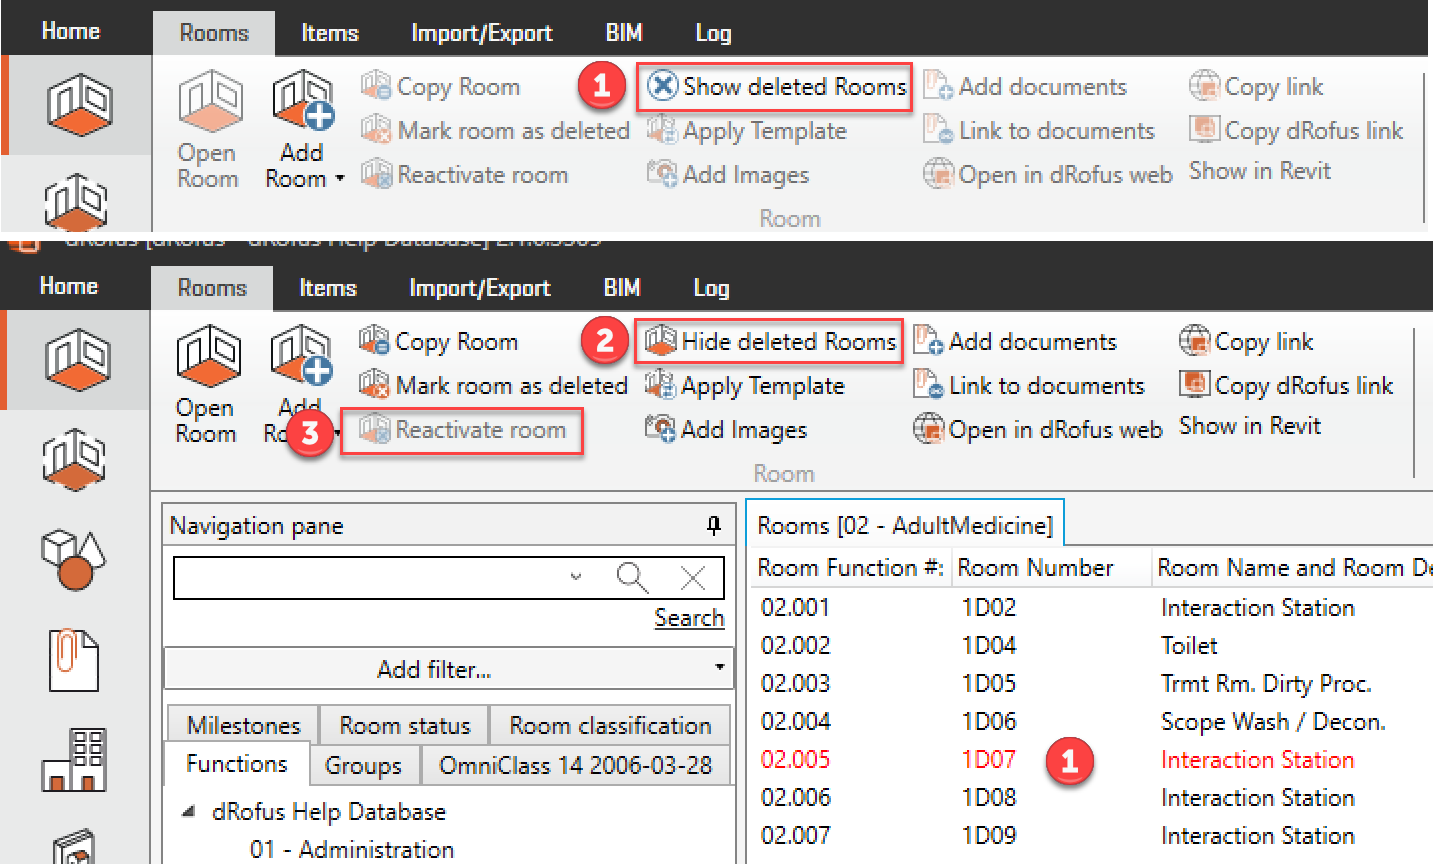
When a room is marked as deleted you will be asked if you want to write in a lognote to why the room is marked as deleted. The room will then be removed from the list. You can see "inactive rooms" by selecting (1) Show Deleted Rooms from the Room section in the ribbon menu. Rooms that are marked as deleted show as red in the rooms list. Rooms that are marked as deleted will keep all room properties, such as areas, numbers and name. However areas will be filtered out in area overviews and reports in the database. All additional data such as Room Data, Item lists and finishes will be deleted.
A room marked as deleted will keep all room logs so you can track history of these rooms.
A room that is marked as deleted can at a later stage be reactivated in the project. Select (3) Reactivate room from the Room section in the ribbon menu to reactivate room. The room will again be part of the project.
Permanently delete rooms
Rooms can be permanently deleted. This action requires that the user has administration access to the database. Delete room permanently is available from the Rooms section in the ribbon menu.
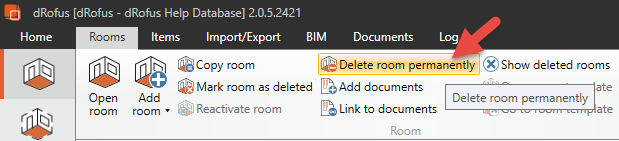
If multiple rooms need to be deleted at once, select a room + Shift to select multiple rooms. The room and all attached data will be permanently deleted from the database.